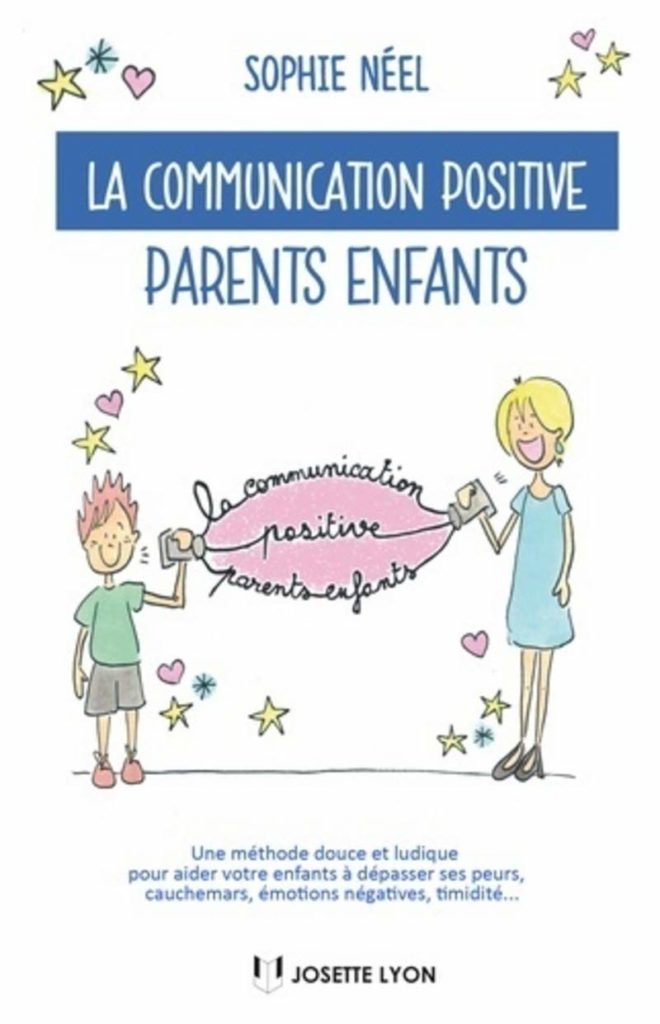
The three drawings technique is a gentle, playful tool to help children overcome emotional difficulties or blocks by putting feelings on paper. It comes from Sophie Néel's book on positive parent-child communication, and it works through drawing rather than talking.
The idea is simple: the child draws the problem, then draws life with the problem solved, and finally draws the bridge between the two. Because it uses crayons instead of conversation, it can reach children who struggle to name what is wrong.

You need very little to start, and you can adapt the whole thing to fears, nightmares, shyness, conflicts with friends or everyday worries.
Quick takeaways
- Use three numbered sheets and coloured pencils, nothing more.
- Drawing 1 shows the child with the problem, in as much detail as possible.
- Drawing 3 shows the child with the problem solved, mirroring the first in a positive way.
- Drawing 2, placed in between, shows the path from problem to solution.
- Speak in the third person for drawing 1 and the second person for drawing 3.
- Let the child decide what happens to drawing 1 at the end.
What You Need and Why Drawing Helps
All you need is a set of coloured pencils or felt-tip pens and three sheets of paper numbered 1 to 3. That is the entire material list, which makes this an easy activity to set up on a rainy afternoon or after a hard day at school.
Drawing gives a child a way to externalise what feels too big or too vague to say out loud. A feeling that stays inside can feel overwhelming; once it is on paper, it becomes something the child can look at, talk about and eventually change.
If you are looking for calm, absorbing activities to build a routine around, our guide to music activities creativity pairs well with drawing time, and children's flap books offer another quiet, hands-on way to help a child settle and express themselves.
Step One: Drawing the Problem
On the first sheet, ask your child to draw themselves together with their problem, and encourage as much detail as possible. Is the child crying? Where does the pain sit in the body? What is the weather like outside? If the difficulty involves friends, they can draw the friends too, and they can add words if they wish.
Speak about your child in the third person while referring to the drawing, for example asking which part of their head the pain is in. This small shift helps the child step back from the problem instead of being completely inside it.
This first stage is really the moment for the child to express everything they feel, so resist the urge to correct or interpret. Simply stay curious and let the details accumulate. Much like new LEGO sets, each detail arrives in its own time.

| Sheet | What the child draws | How you speak to them |
|---|---|---|
| Sheet 1 | Themselves with the problem, in detail | Third person, to help them step back |
| Sheet 3 | Themselves with the problem solved | Second person, to involve them fully |
| Sheet 2 | The path from problem to solution | Question phrased as already achieved |
| After | What to do with sheet 1 | Follow the child's choice |
Step Two: Drawing the Problem Solved
On the third sheet, the child draws themselves once the problem is solved. What does their face look like? What is the weather outside now? How does their body feel when everything is fine? Again, invite plenty of detail, and where you can, mirror the elements of the first drawing in a positive, happy version to symbolise the change.
This time, address your child in the second person to involve them fully in the shift, asking how you feel now that all is well, or what it is like inside your head. The direct address makes the solved state feel more real and more theirs.
Keep the tone light and let the child lead the imagery; the point is not a perfect picture but a felt sense of relief.
Step Three: Drawing the Path Between
Once both drawings are finished, place sheet number 2 between drawing 1 and drawing 3. Ask the child to draw how they moved from the problem to the solved state, phrasing the question as though it has already happened and the difficulty has been overcome.
Children sometimes freeze at this stage, unsure what to draw. Offer a few open suggestions, such as a rocket, a horse, a staircase or a maze, or ask gentle questions: perhaps someone helped? Is there an object that was needed? The important thing is that the final idea belongs to the child.
If your child enjoys building as much as drawing, a small construction project can work as a physical version of this bridge, and our piece on LEGO MOC meaning is a friendly starting point for turning an idea into something they build themselves. For a gentler, more reflective version of the same idea, you might also explore what a baby feels and how inner experience shapes early growth.
What to Do With the First Drawing
When all three drawings are complete, ask your child what they would like to do with drawing number 1. Some children want to throw it away, cut it up, crumple it or even burn it, with your supervision. Once it is gone, the problem feels as though it has gone too.
Follow your child's lead here rather than deciding for them; the gesture matters more than the method. If they would rather keep it, that is fine as well, and you can simply talk about what has changed since they drew it.
This closing ritual is often the part children remember, because it gives the abstract work of the three drawings a clear, satisfying ending.
Adapting the Activity to Different Ages and Worries
The technique works for a wide range of difficulties: fears, nightmares, negative emotions, shyness, or trouble with friends. With younger children, keep the questions short and accept scribbles as valid answers; with older children, you can add written words or speech bubbles to the drawings.
Try not to force the activity when a child is upset or tired. Offer it at a calm moment, perhaps as part of a predictable wind-down routine, and let them choose whether to take part.
For families who like to plan quiet, connecting moments together, our ideas for family places visit and movies about books can help you build a rhythm of shared time that makes activities like this one easier to slot in. A calm routine also helps with everyday hurdles, as when a school asks that children not be thrown over the fence if they arrive late, and it connects to bigger questions such as the most beneficial school day.

My hands-on take
I have used this with my own children, and the part that surprised me most was how much they said through the drawings without saying anything at all. My youngest drew a stormy sky on sheet 1 and a bright sun on sheet 3 without any prompting, and the conversation that followed was far easier than any direct question I had tried before.
The other lesson I learned was to stay quiet at the start. The first time, I jumped in with suggestions too early and the drawings became mine rather than theirs. When I simply asked where the feeling sat in the body and waited, the child filled the silence with details I would never have guessed.
Frequently asked questions
What age is this activity suitable for?
It works best with children old enough to draw a simple figure and answer short questions, roughly from preschool upward. With younger children, keep questions brief and accept scribbles as valid answers.
What if my child refuses to draw the problem?
Do not push. Offer the activity again at a calmer moment, or let them draw only the solved picture first and come back to the problem later.
Can I do this for a serious worry?
It is a gentle support tool, not a substitute for professional help. If a difficulty is persistent or distressing, speak to a doctor or child specialist.
Do we have to destroy the first drawing?
No. Throwing it away, cutting it or crumpling it is only an option some children enjoy. If your child wants to keep it, that is fine too.
Product Reviews
 Best Toys for Dogs With High Prey Drive |
Best Outdoor Toys for 3-4 Year Olds |
Best Outdoor Toys for 6 Year Olds |
Best Harness for Poodle |
Best LEGO Sets for Adults |
Best Travel Toys for 4 Year Olds on Airplane |
Best Toy Stores in Washington DC |
Best Potty Training Toys |
Best Toys for Tripod Dogs |
Maillot equipe de france